How to Fasten a Metal Cable Tie Securely: A Step-by-Step Guide for Manufacturing Applications
- USQuickBlogs
- 22 May, 2025
Metal cable ties are essential tools in manufacturing and industrial settings. Whether managing electrical systems, securing heavy equipment, or bundling cables in harsh environments, metal ties provide unmatched durability, heat resistance, and tensile strength. Unlike traditional plastic zip ties, metal cable ties are built to endure extreme temperatures, corrosive environments, and high-vibration conditions often found in factories, warehouses, and construction sites.
But like any industrial component, metal cable ties must be installed properly to ensure safety, compliance, and functionality. Improper application can lead to unsecured cables, premature wear, or equipment failure. This article offers a complete, step-by-step guide on how to securely tie a metal cable, along with practical tips for choosing the right type, avoiding common mistakes, and maintaining high standards in your operation.
If you’re in the manufacturing business, read on to ensure your installations meet industrial-grade quality and performance.
What Are Metal Cable Ties?
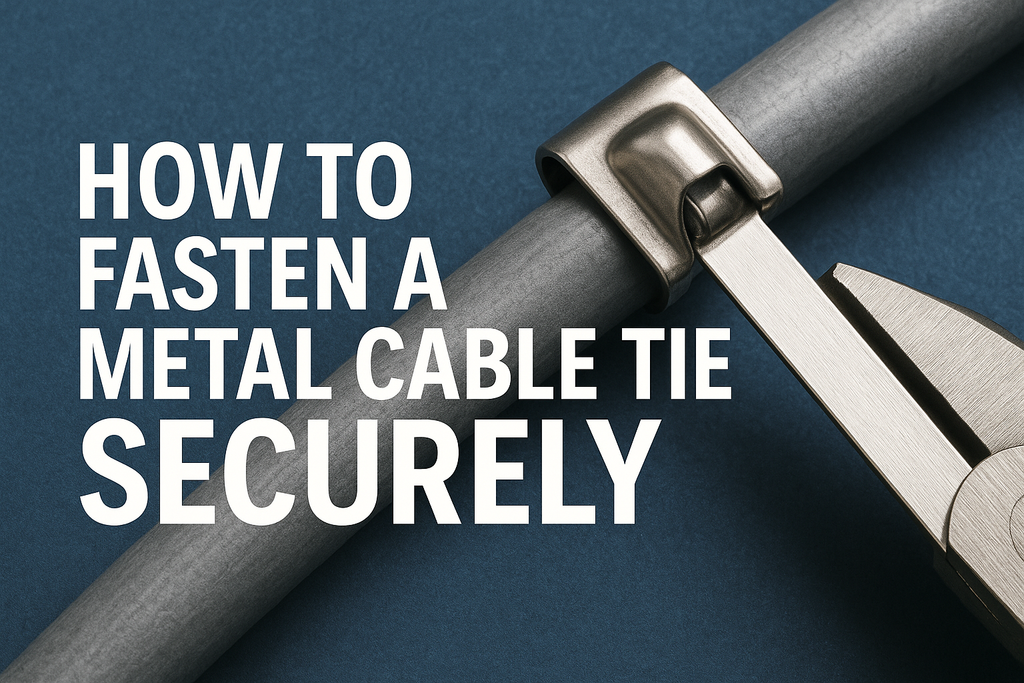
Metal cable ties, also known as stainless steel cable ties, are fastening devices designed to secure bundles of cables or other items together. Unlike their plastic counterparts, these ties are typically made from stainless steel (grades 304 or 316) and come with a built-in locking mechanism that ensures a secure hold. They are used in high-heat areas, corrosive environments, and applications requiring higher strength and longer-lasting solutions.
There are several types of metal cable ties available:
Uncoated stainless steel ties – Ideal for indoor or clean environments.
Coated stainless steel ties – Feature a polyester or epoxy coating to prevent galvanic corrosion when in contact with dissimilar metals.
Releasable metal ties – Allow reuse, perfect for temporary or frequently serviced installations.
Benefits in manufacturing:
Excellent resistance to UV, heat, chemicals, and abrasion.
Higher tensile strength compared to nylon or plastic ties.
Fire-safe and halogen-free (ideal for regulated environments).
Tools and Materials You’ll Need
Before you begin the installation process, having the right tools on hand is crucial. Using improper tools can damage the cable tie or create unsafe installations.
Required tools:
Tensioning tool – Ensures the correct tightness and prevents over-torquing.
Cutting tool – This is for trimming excess tie without leaving sharp edges.
Protective gloves – Stainless steel edges can be sharp.
Optional tools:
Crimping tool – For ties that require extra fastening security.
Labeling system – This is used to identify bundled cables in complex installations.
Having these tools ready helps ensure efficiency, safety, and accuracy in the tying process.
Step-by-Step Guide: How to Tie a Metal Cable Tie
Tying a metal cable tie might seem simple, but precision is key, especially in high-stakes environments like manufacturing plants. Follow these steps to get the job done right:
Step 1: Select the Right Cable Tie
Choose the appropriate length, width, and type of metal tie based on your application. Consider the bundle size, environment (indoor or outdoor), and any chemical or temperature exposure. For corrosive environments, go with 316 stainless steel or a coated tie.
Step 2: Bundle the Cables or Objects
Neatly align and bundle your wires, pipes, or components. Ensure they are not twisted or overly compressed, as this can cause damage or misalignment during operation.
Step 3: Insert the Tie
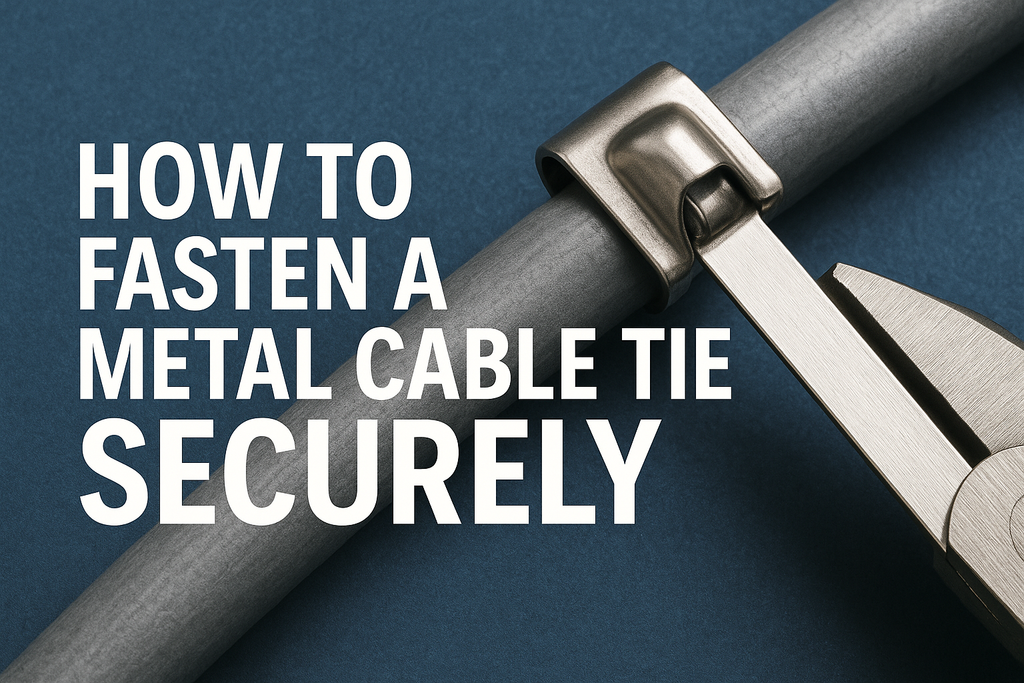
Wrap the tie around the bundle and feed the tail through the self-locking head. Metal cable ties often have ball-locking mechanisms or snap-locks that hold the tie in place.
Step 4: Apply Tension with the Tool
Use a tensioning tool to pull the tie tight. This ensures consistent pressure without damaging the cables. The tool should be compatible with the width of the tie (common widths are 4.6mm, 7.9mm, etc.).
Most tools have a built-in cutoff function that trims the excess once the desired tension is achieved.
Step 5: Trim the Excess
If not using an auto-cut tool, trim the tail manually using a sharp cable tie cutter. Be careful not to leave a jagged edge, as it could cause injuries or damage nearby materials.
Step 6: Inspect the Tie
Verify that the tie is secure and the bundle is held firmly. The locking mechanism should be engaged fully. Check for any sharp edges and smooth them out if necessary.
Common Mistakes to Avoid
Even experienced technicians can overlook simple errors when working under pressure. Here are common mistakes to avoid when tying metal cable ties:
1. Using the Wrong Size
A tie that’s too small for the bundle can snap under tension. Conversely, a tie that’s too long may lead to awkward excess that’s hard to trim properly.
2. Over-Tightening
Over-tightening may cut into cables or deform the bundled objects. Always use a tensioning tool with adjustable torque to prevent this.
3. Not Using a Tensioning Tool
Hand-tightening can lead to inconsistent tension, increasing the risk of tie failure or loose bundles.
4. Cutting with Improper Tools
Using wire cutters or dull blades can leave sharp burrs. Always use dedicated cable tie cutters for clean, safe cuts.
Industrial Use Cases and Best Practices
Metal cable ties are integral to a wide range of manufacturing applications. Below are some common use cases and best practices tailored to your industry:
Electrical Installations
In control panels, conduits, and machinery, metal ties help bundle wiring while resisting heat from electrical components. Use UL-listed ties for code-compliant installs.
HVAC Systems
Secure ducting, insulation, and sensor cables in high-temperature areas where plastic ties would melt or degrade.
Automotive & Aerospace
Cable ties are used to bundle brake lines, engine wires, and structural elements. Stainless steel ties are also vibration-resistant, making them ideal for mobile or airborne equipment.
Food & Beverage Manufacturing
Use coated stainless steel ties to meet hygiene and corrosion resistance standards in washdown areas.
General Best Practices:
Choose ties rated for your specific environment.
Document all tie placements for maintenance and inspection.
Schedule routine checks for loosening, corrosion, or wear.
Maintenance and Replacement Tips
To maintain operational safety and performance, metal cable ties should be inspected periodically:
Signs You Need to Replace a Cable Tie:
Visible rust or corrosion.
Cracking or stress lines (especially on coated ties).
Loose locking mechanisms.
Sharp edges are exposed due to wear.
Keep track of installation dates, especially for high-heat or outdoor environments where weathering is accelerated. Having a cable management system in place ensures that replacements are timely and systematic.
Conclusion
Properly tying a metal cable tie isn’t just about fastening; it’s about securing the foundation of your manufacturing system. From electrical systems and HVAC to heavy machinery and assembly lines, these small yet powerful tools play a critical role in ensuring safety, performance, and compliance.
By selecting the right tie, using the correct tools, and following a consistent installation process, you ensure your cable management system can withstand harsh conditions and rigorous demands.
Need help sourcing industrial-grade stainless steel cable ties or tools? Contact us today for expert advice and bulk orders tailored to your business needs.
